Most of the computer users are familiar with USB drive error "Please insert a disk into removable disk". This error generally appears when you connect your USB drive to the system and due to some reasons, it turns unreadable. In that situation, you won't be able to format or partition the drive. Also, when you check its properties, "Used Space" and "Free Space" on the drive are shown as 0 bytes. So this page provides details on how you can bring your USB on track and access its data.
Usually, formatting the drive won't help you in getting rid of this error. The computer experts suggest that this error encounters due to the default behavior of Windows when the same drive assigned to another drive which tries to occupy the drive letter. So for that, you must change the drive letter of the USB drive. Follow the below method to do that:
Changing device drive letter:
- Press Window + X and select Disk Management
- On the disk map, right click on the removable disk and select Change Drive Letter and Paths
- Then change the drive letter to some other drive letter (Make sure it has not been used before, for example, Y: or Z: etc.)
Now as you attempt to access the drive, you won't be able to see "please insert a disk into removable disk" error. However, sometimes users face data loss issue after performing this process. In that case, you can use the Windows File Recovery tool. Here is how it works:
Note: You can use the same method to restore Windows 7 lost files, missing documents from Windows 8 computer, accidentally deleted partition recovery on Windows 7 and helps to recover in many other situations.
How to recover data from a USB drive that shows error- Please insert a disk into the removable disk?
Step 1: Launch the software on your Windows PC.
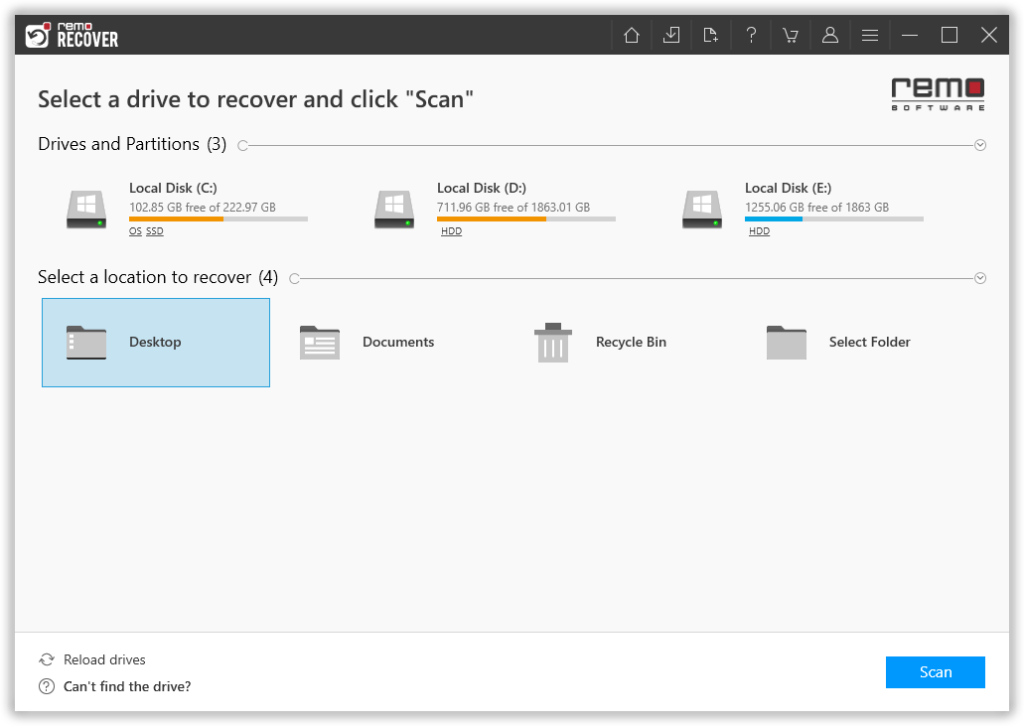
Step 2: From the main screen, you are asked to choose the drive or the folder from where you want to recover files and click on the Scan button.
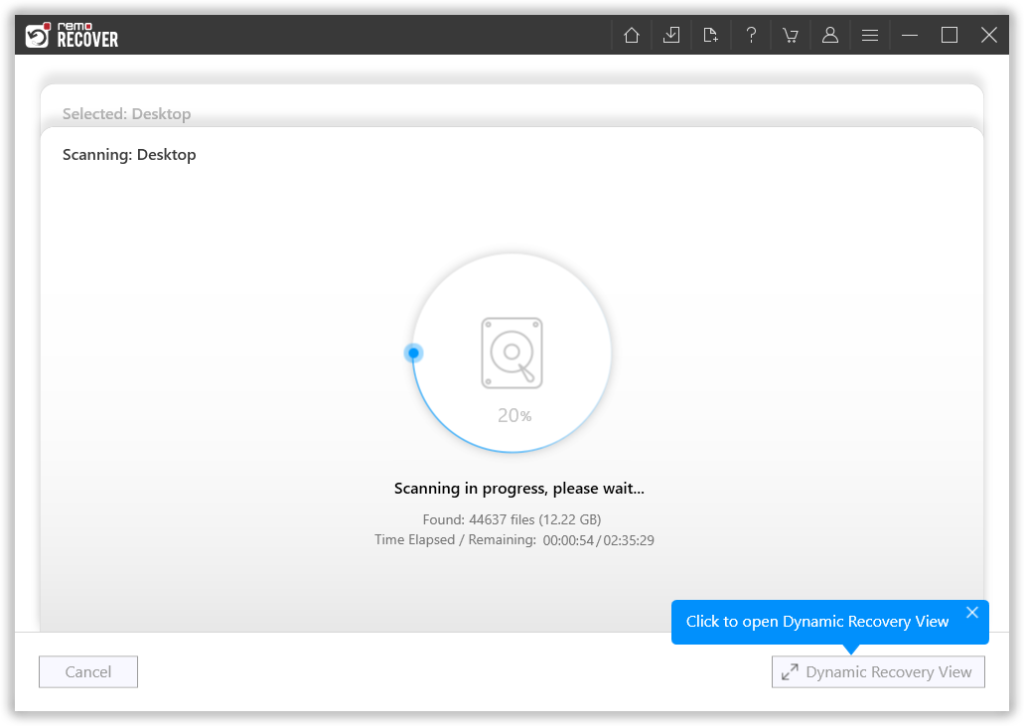
Step 3: The tool starts scanning the selected drive; you can use the Dynamic Recovery View option to view the file recovery process.
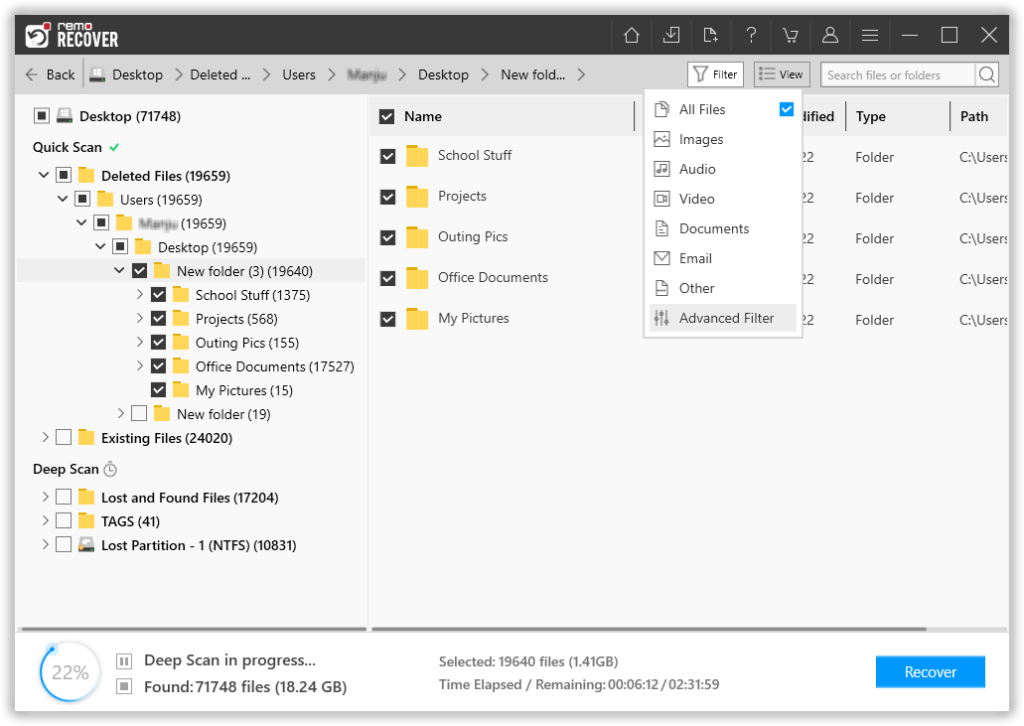
Step 4: A complete list of recovered files from the selected drive will get displayed on your screen. Options like the Advanced Filter option and the Search option come to help you effortlessly find the files that you are looking for.
Step 5: This software also comes with our most powerful feature to date, called the Augmented Preview option. To help you view the recovered files without having to save the data.
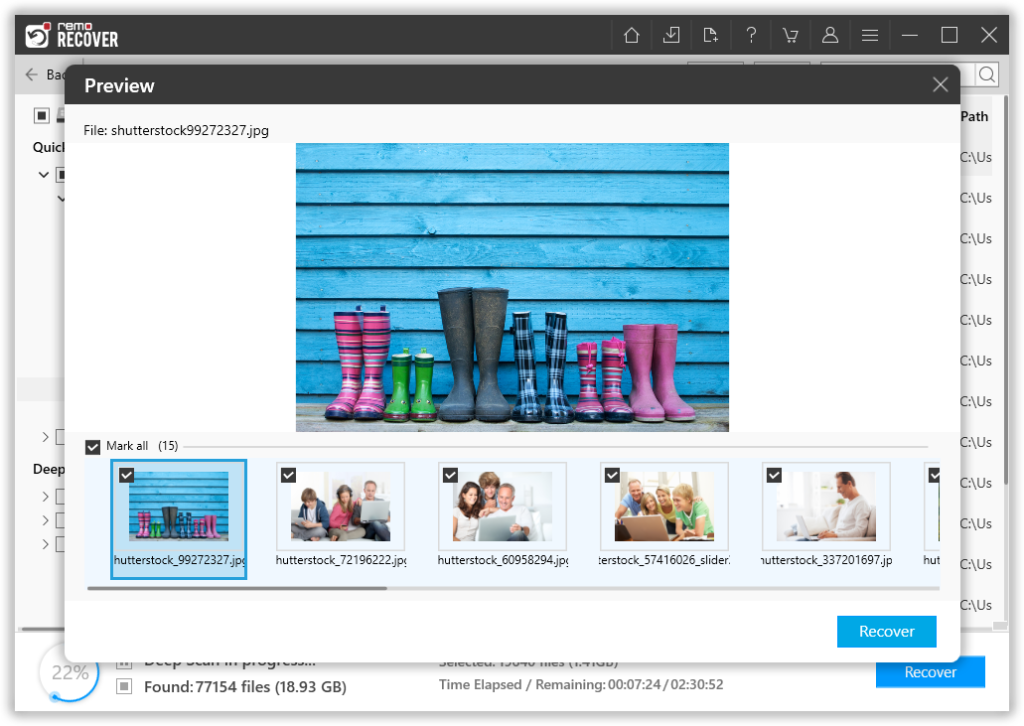
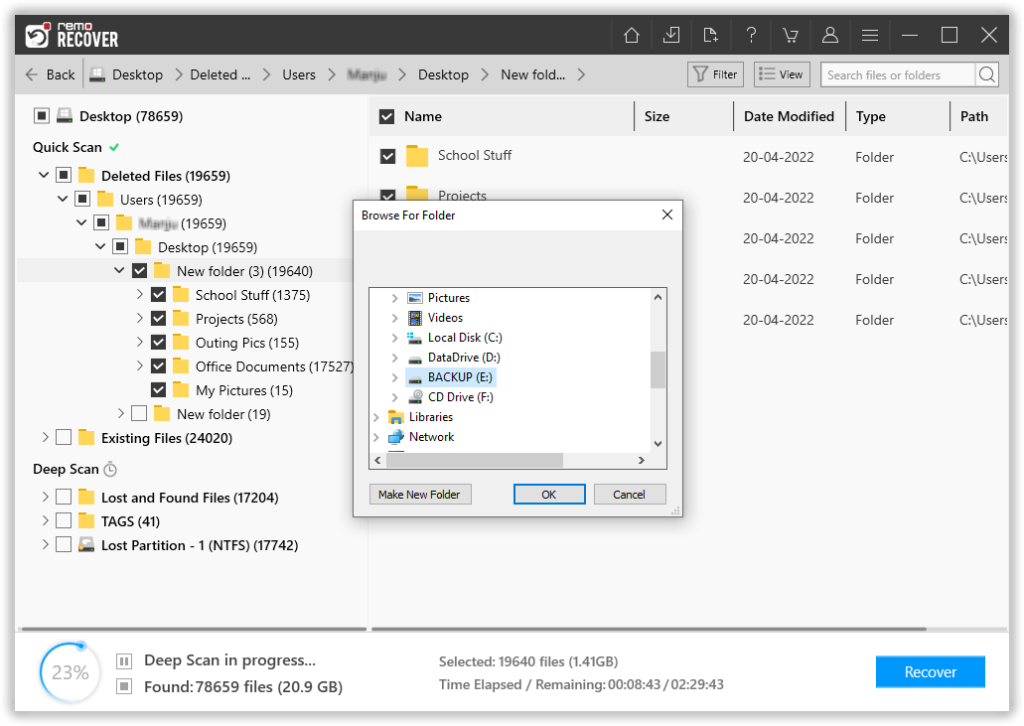
Step 6: The software also lets you select the file(s) that you would like to recover without bringing in any files and folders that you do not want to. The last step in the file recovery journey is to select a location where you want to save the recovered files.
